Entry 016
Preparing and Staining Exterior Wood Decks
Inspect the wood, restore the surface, select the right stain, and maintain the finish before weathering gets ahead of you.
Prepare and stain wood decks, from replacing unsound boards and identifying old finishes to cleaning, brightening, moisture checks, and full-board application. Separate instructions cover water-based deck stains and wiping excess oil from Ipe, with project photographs and maintenance guidance.
My standard
My standard: Start with sound, secure wood. Clean thoroughly, confirm that the wood is ready for the chosen finish, and work a few boards their full length to keep the application even. On dense hardwoods such as Ipe, remove excess oil instead of leaving a heavy coating on the surface. Clean regularly and inspect for blotchy, dry-looking, or light areas; in my Florida experience, recoating is usually an annual job.
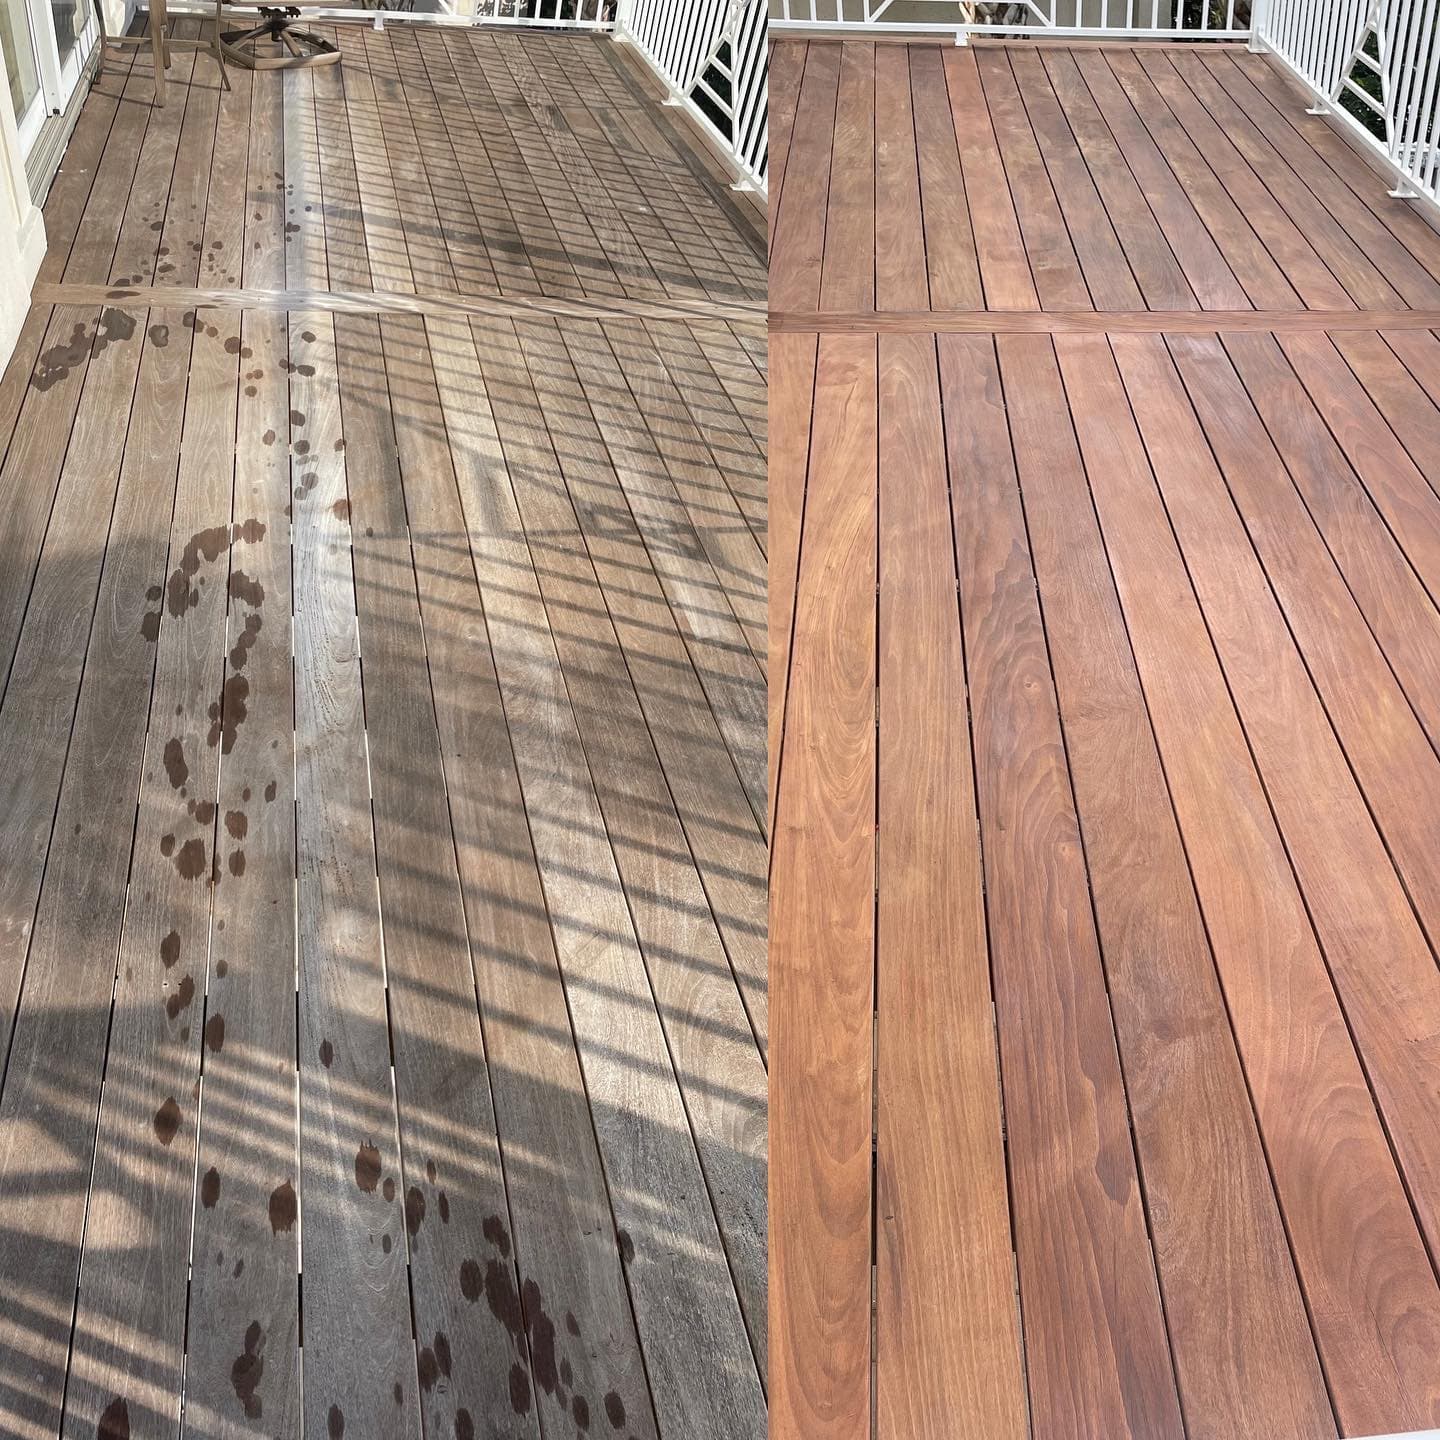
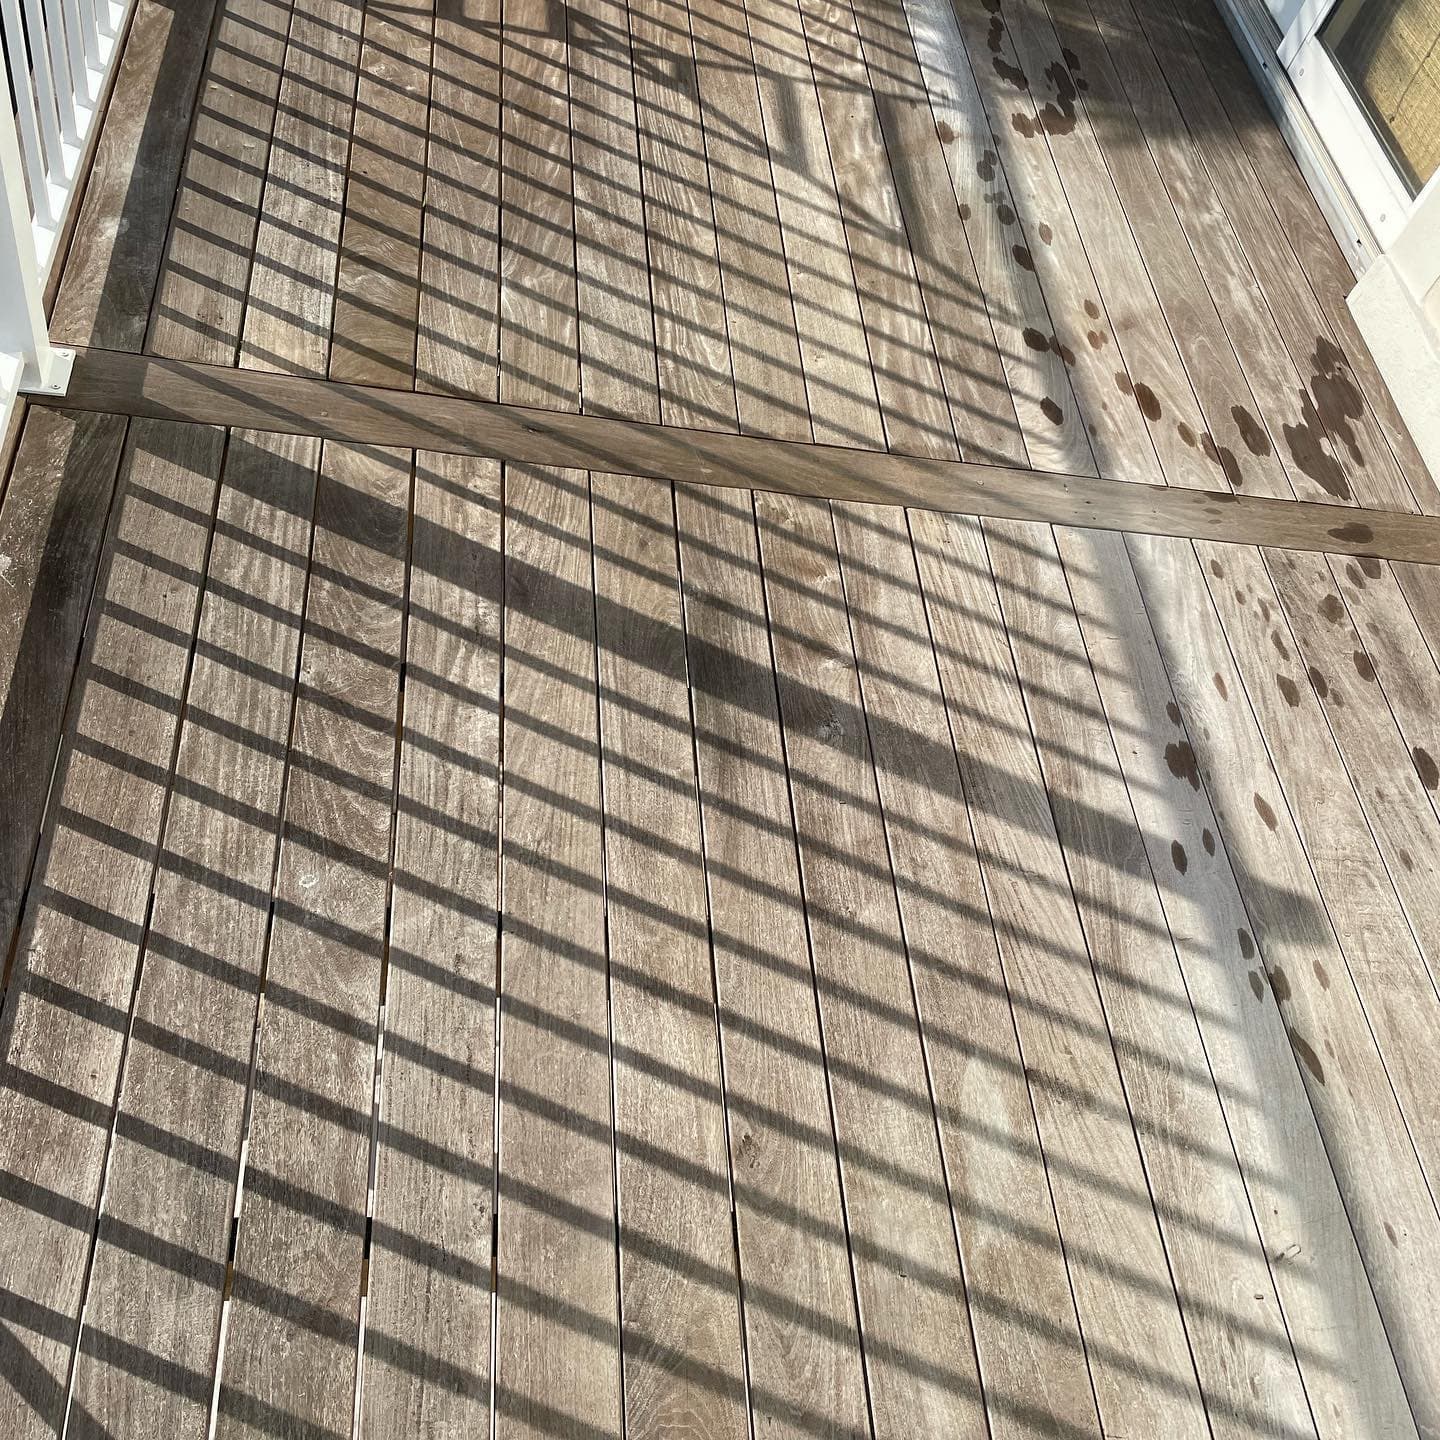
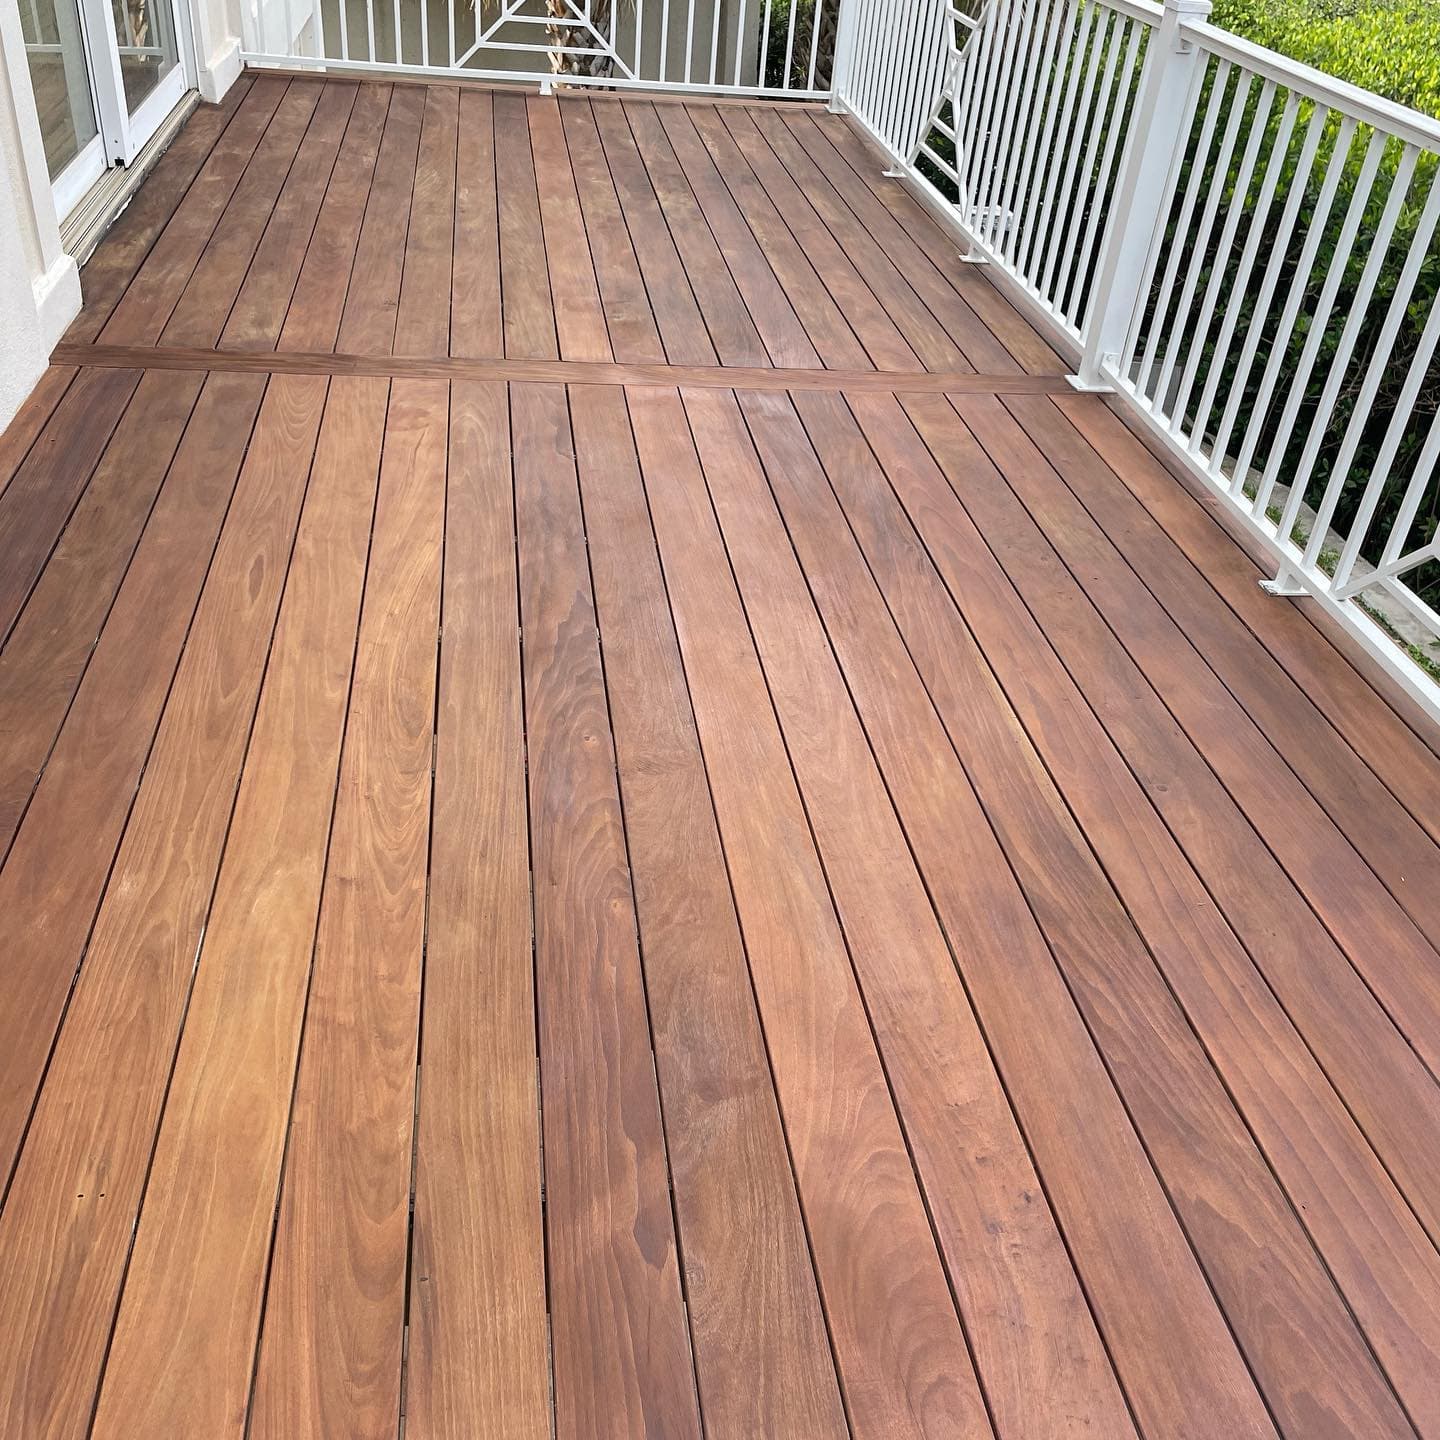
1. Inspect the wood and replace unsound boards
Stain is a finish, not a repair for weakened wood. Stop and resolve loose or deteriorated components before coating. If the condition raises questions about the deck's supporting structure, arrange an appropriate assessment rather than treating the problem as surface preparation.
Identify the wood as well as its condition. An Ipe deck and a pine deck may need different finishes and preparation. New replacement boards also need to meet the selected finish's preparation and moisture requirements; installing them does not automatically make them ready for stain.
2. Identify the existing finish and the desired result
Find out what was used previously, whether it remains sound, and whether the proposed stain can work over it. A failed or incompatible finish may require removal even when the color will stay the same. A cleaner or brightener does not guarantee removal of every old coating or stain color. Test a representative area before promising a lighter result.
If full stripping is necessary, use a removal system specified for the existing coating and wood. That separate operation is not replaced by the cleaner-and-brightener procedure below.
3. Choose the finish, appearance, and applicator
| Appearance | What the choice means |
|---|---|
| Transparent or translucent | Shows the most natural wood appearance, including variations and remaining discoloration. |
| Semi-transparent | Adds color while keeping much of the grain visible. |
| Semi-solid | Hides more variation while retaining some visible grain. |
| Solid | Gives the strongest color coverage and hides more cosmetic variation; wood texture can remain visible. |
Opacity names and available formulas vary by product line. Select the exact finish approved for the wood species and horizontal walking surface. Approve a dried sample on the actual prepared wood before doing the whole deck. A solid stain can hide color variation; it cannot make damaged wood sound.
Choose brush fibers compatible with the product. The brush and roller selection guide contains the shared selection guidance. Do not add a conventional wood primer beneath a penetrating stain. If a solid-stain system calls for a particular primer, follow that system; Woodluxe 694, for example, identifies primer options for tannin-prone wood. [7]
4. Clean the deck and rinse thoroughly
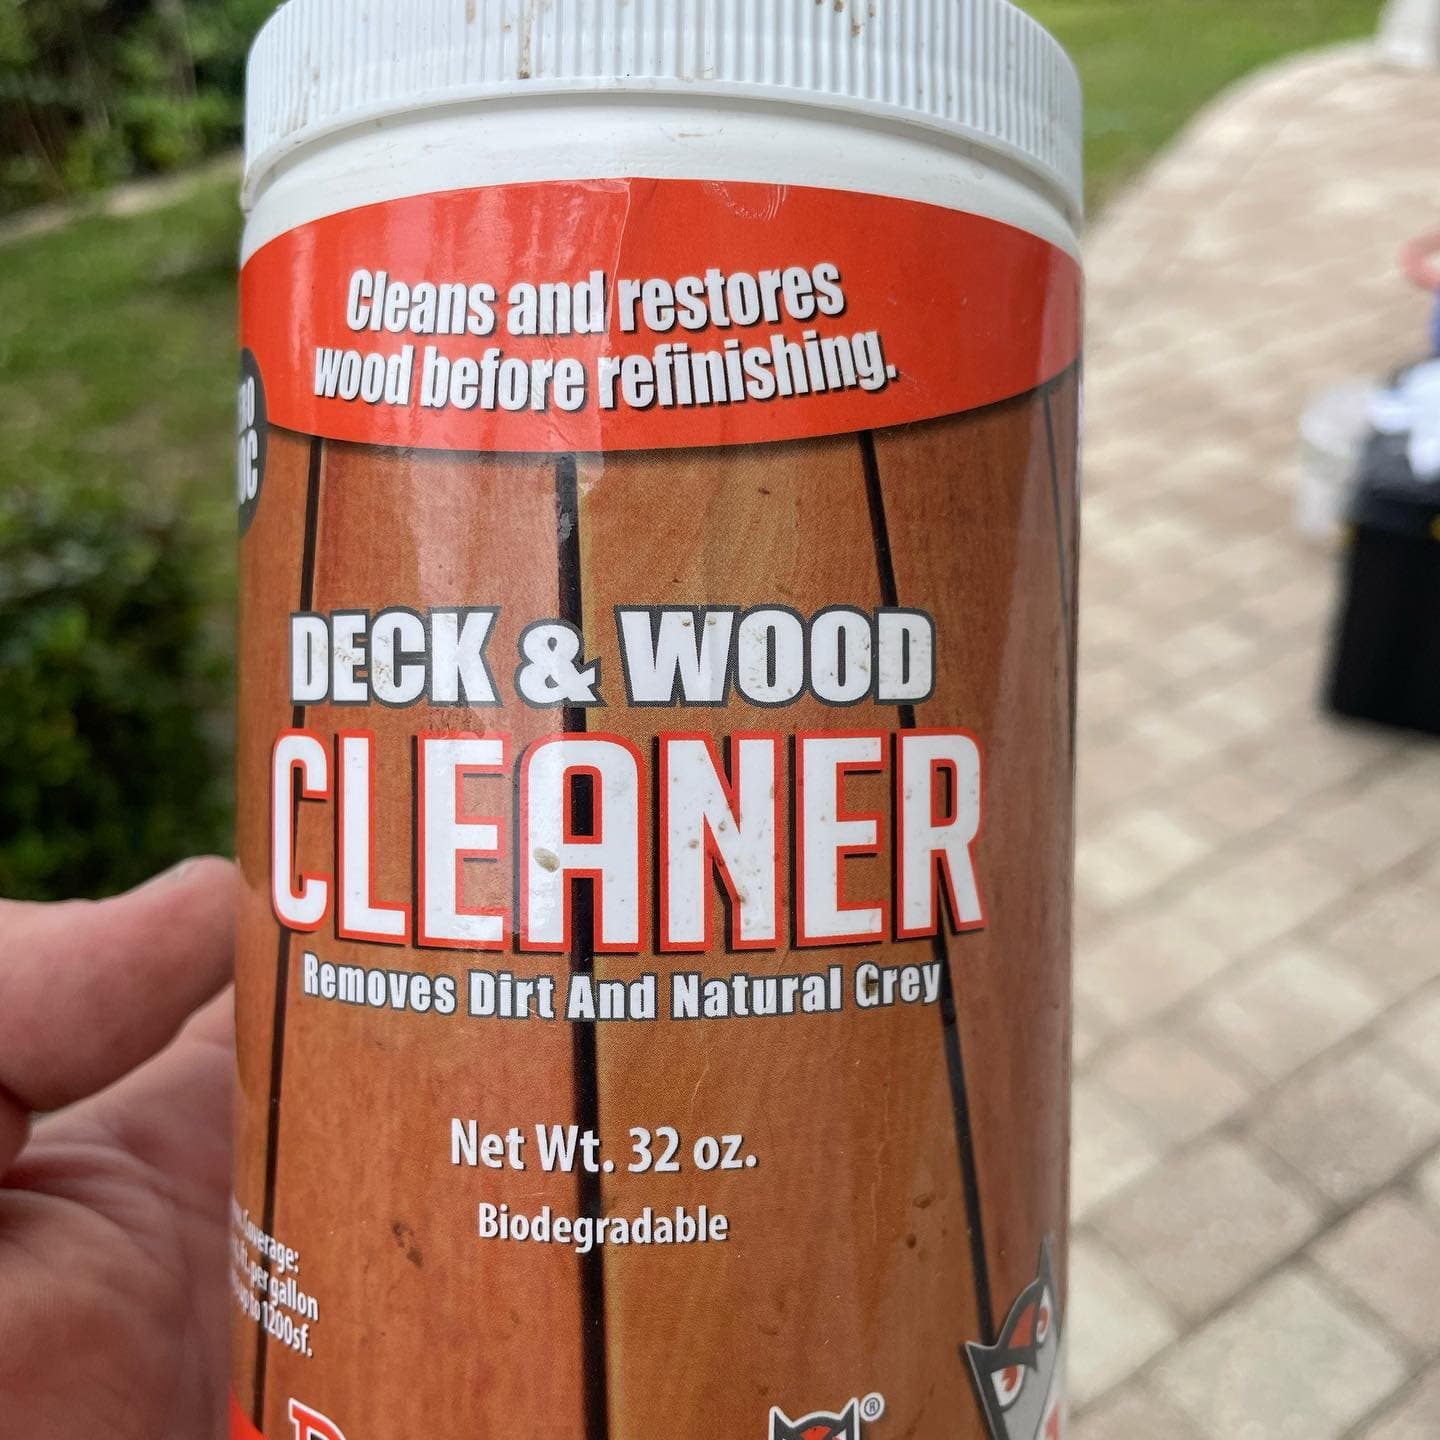
Clear the work area and protect nearby surfaces and plants according to the cleaner's label. Plan where rinse water will go. Use the label-specified protective equipment and keep people and pets out of the work area during treatment.
Treat manageable sections so the cleaning solution stays wet until it is rinsed away. The garden-hose rinse is part of this procedure. DeckWise advises against pressure washing hardwoods because of possible surface damage and raised grain. [3]
5. Brighten when the selected system calls for it
The decision is about chemical preparation as well as color. A pleasing appearance after cleaning does not demonstrate that the wood's pH or surface condition suits the finish. My practice of assessing the dry appearance is not permission to omit a step required by the selected system. Apply cleaner and brightener as separate treatments, rinsing between them.
6. Confirm dryness and address remaining roughness
Remove sanding dust before staining. Recheck the surface by sight and touch: the aim is sound, clean wood that can accept the chosen finish, without sharp splinters or dirty residue. Follow the selected product's requirements for new wood and mill glaze rather than assuming cleaning alone is sufficient. A manufacturer's prescribed sanding preparation takes precedence over the light, localized sanding described in my field practice.
Before opening the stain, check the weather window and surface temperature. Schedule application so the wood is within the product's limits and rain will not arrive during its required protection period. A deck that is dry enough can still be too hot to coat properly.
7. Apply water-based deck stain along the boards
Stir and intermix the product as directed. Maintain a wet edge and finish at natural board ends or other breaks rather than stopping halfway along a board. Keep the application even; heavier material is not a substitute for correct preparation. Inspect edges and joints for missed areas while working.
| Exact product example | Coating and recoat direction |
|---|---|
| Woodluxe water-based semi-transparent 692 | One coat. Do not add another simply because a board looks lighter. [6] |
| Woodluxe water-based solid 694 | One or two coats; two for optimal performance. Allow at least 4 hours between coats at 77 F and 50% relative humidity. [7] |
| SuperDeck waterborne solid SD7-251 | Two coats recommended, maximum two. Recoat in 2-4 hours at 77 F and 50% relative humidity; cooler conditions take longer. [8] |
These are examples, not interchangeable instructions for every opacity in either brand. Confirm the product number and current label. Investigate an uneven result before adding material: different wood color, remaining old finish, uneven absorption, or application can produce different corrective actions.
The timed oil wipe-off in the next section belongs to the hardwood-oil procedure. Do not use it as a blanket instruction to wipe off a newly applied water-based stain.
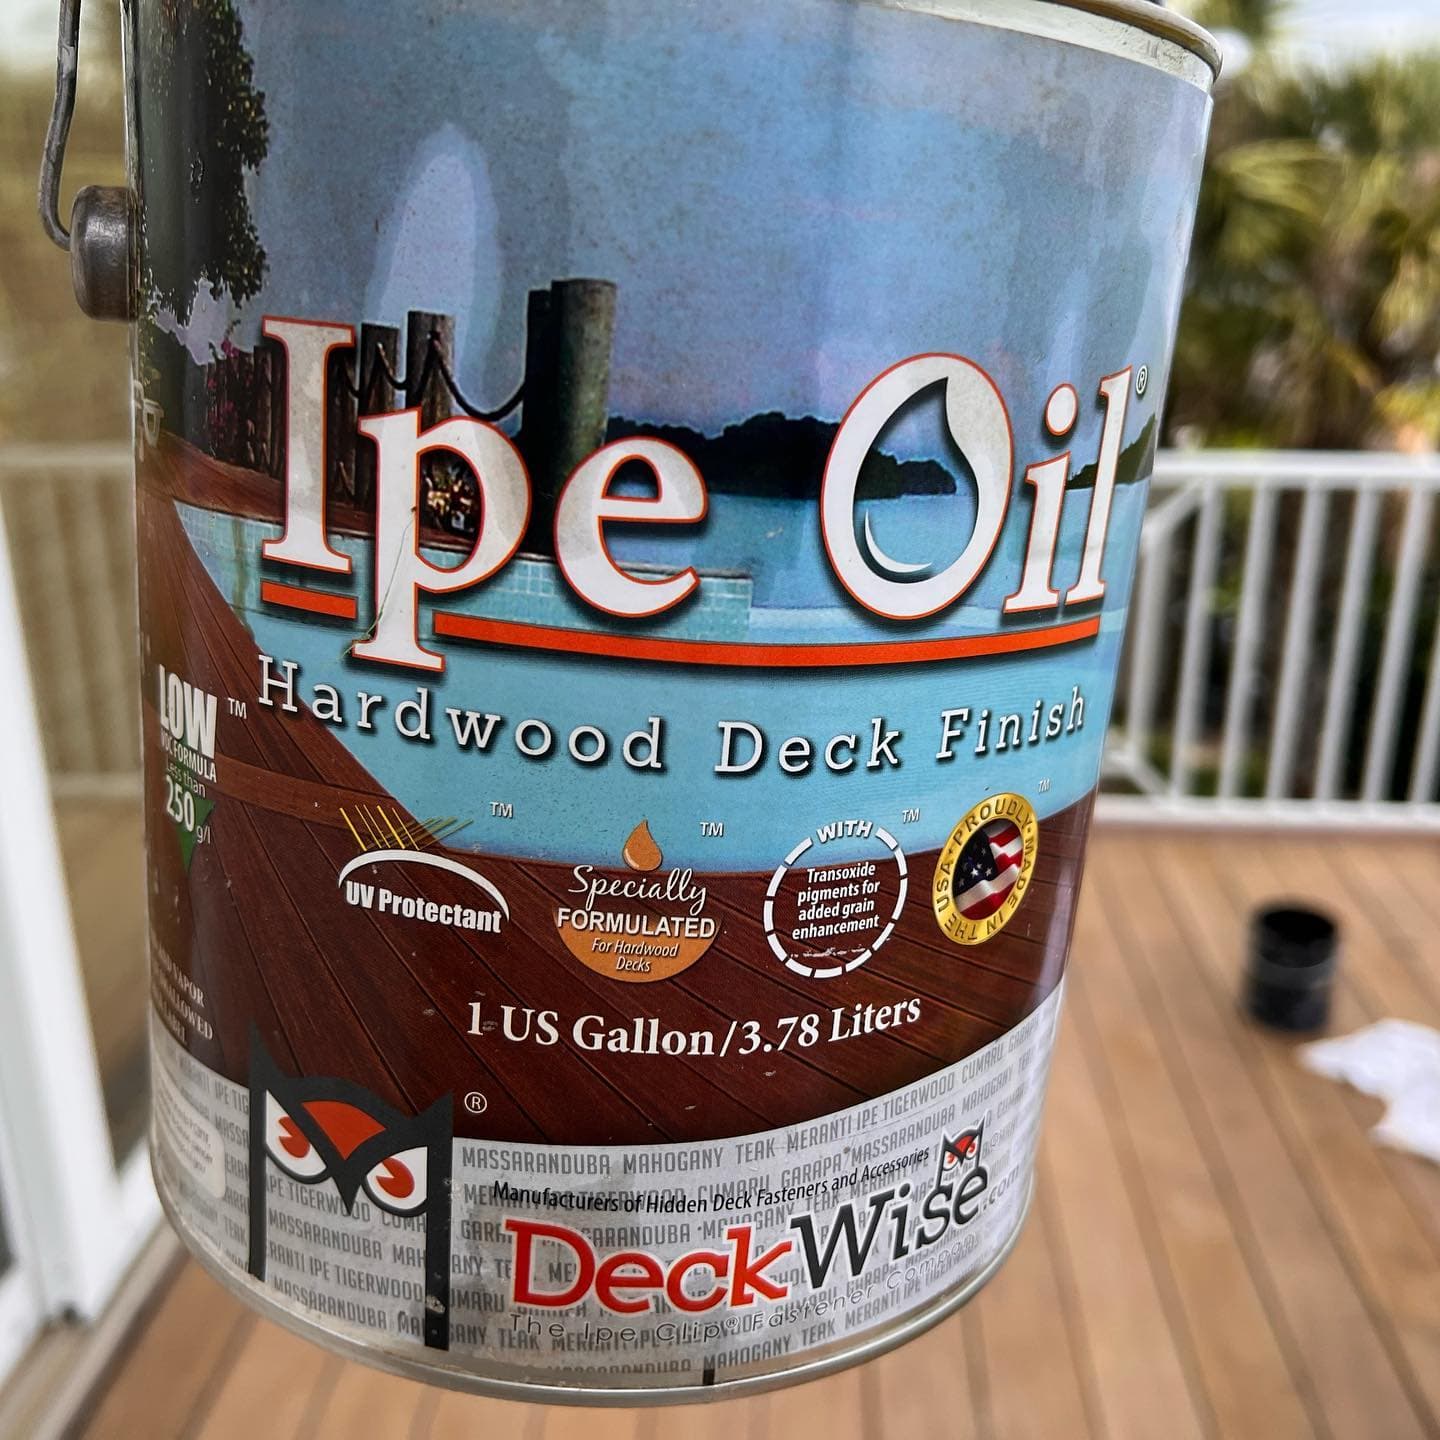
8. Apply hardwood oil without leaving excess behind
Work in areas small enough for the helper to remain within the wipe-off window. Do not coat the entire deck and only then begin removing excess if the first boards would have waited too long.
Make those corrections within the product's workable application period. Natural variation between boards is not automatically a missed spot. If the finish has already dried unevenly, use the manufacturer's correction procedure rather than applying more oil indiscriminately.
9. Inspect the finish and explain when the deck can be used
Check the completed deck from several viewing positions. Look for uneven application, lap lines, pools, sticky-looking excess, and holidays. Confirm that the selected appearance has been achieved without treating natural grain and color variation as defects. Correct application problems before handoff, using the product's directions.
Give the client the actual product name, color, completion date, and applicable return-to-use instructions. Explain separately when furniture, rugs, or other items can be returned if the product gives different limits. Being dry to the touch is not a substitute for those instructions.
10. Clean regularly and recoat before the finish deteriorates
Treat this as an inspection-led maintenance routine. Clean first and determine whether the change is dirt, staining, wear, or loss of finish. Use the same sound-wood and coating checks before a maintenance coat. An intact solid stain does not need an extra coat merely because a calendar year has passed. The wood, exposure, finish, and condition determine the work.
Clean tools with the cleaner specified for the product. Handle wash water, leftover coating, and contaminated materials according to their labels and local disposal requirements.
SPATE at a glance
- Substrate
- Identify the wood, existing finish, damaged boards, and desired appearance before deciding how to prepare the deck.
- Product
- Choose a compatible cleaner, brightener when required, and the exact horizontal-surface stain or hardwood oil.
- Application
- Clean, rinse, complete required brightening, dry, sand where needed, and work full board lengths with an even application.
- Tools
- Use a deck brush, sprayer or sponge for cleaning, garden hose, abrasives, moisture meter, and an appropriate staining brush on a pole. Use wiping cloths for the hardwood-oil procedure.
- Execution
- Replace unsound boards first, follow product-specific coat and drying limits, inspect the finish, handle oily waste safely, and establish a maintenance routine.
Sources and references
- Cabot. Technical Bulletin 14: Peeling - Common Causes. Revised February 2008.
- DeckWise. Wood Cleaner and Brightener: Usage. May 13, 2025. The published brightener dwell is 30 minutes.
- DeckWise. Wood Deck Cleaner and Brightener. Product system, hardwood cleaning, and brightening guidance.
- DeckWise. Ipe Oil Hardwood Finish. Product information and moisture guidance.
- DeckWise. Ipe Oil 250 VOC Use and Care Specifications. Revised December 10, 2019; linked from the current product page when reviewed.
- Benjamin Moore. Woodluxe Water-Based Waterproofing Stain + Sealer, Semi-Transparent 692. US technical data sheet, July 9, 2025.
- Benjamin Moore. Woodluxe Water-Based Deck + Siding Exterior Stain, Solid 694. US technical data sheet, June 29, 2026.
- Sherwin-Williams. SuperDeck Exterior Waterborne Solid Color Stain, SD7-251 Series. Product data sheet 114.70B, March 2025.