Entry 005
Airless Spraying: Setup, Tip Selection, Application, and Cleanup
Setup, Tip Selection, Application, and Cleanup
Good spraying begins before paint reaches the gun. An organized station, protected surroundings, checked equipment, and a consistent application sequence let a crew work efficiently and correct problems while they are still manageable.
My standard
My standard: I set up a protected paint station, mask the surrounding surfaces, check the equipment, and establish an even test pattern before spraying. I keep the gun moving at a consistent distance, overlap passes by 50%, and have the crew inspect and correct the coating as we go. Tip selection, pressure relief, flushing, and storage follow the actual equipment and coating instructions.
1. Establish the station and protect the property
Choose a station for paint, the sprayer, and the tools the crew will need. Outdoors, I use a shaded location with a tarp underneath. Keep access routes orderly, protect against spills, and position hoses so they do not create avoidable trip hazards. Place cardboard or scrap wood at the station for test spraying.
Use a plastic masking machine for windows and larger protected areas. Use a paper masking machine for smaller items such as hose bibs, door handles, and downspouts that will receive a different color. Cover the ground and surrounding surfaces. On multistory homes, protect adjoining roof surfaces along the upper-story work area against overspray. Plan safe access before masking or spraying at height.
Inspect protection before starting and as work progresses. Wind can carry overspray beyond the immediate work area; pause when drift cannot be controlled. A tarp and masking do not replace required grounding or ventilation. Plastic protection is not suitable for every material: follow the equipment manual's restrictions for flammable coatings and solvents. [4, 6]
2. Put on protection and inspect equipment
My usual spraying equipment includes goggles, a hat, a respirator, and a Tyvek suit. Select respiratory protection, cartridges or filters, gloves, and protective clothing for the coating's safety data sheet and actual exposure. A suit or respirator name alone does not establish suitability. Provide required ventilation and follow fit and use requirements. [4, 6]
Before opening filters, servicing connections, or handling the tip assembly, perform the actual model's pressure-relief procedure. Turning the motor off alone does not release trapped pressure. Follow its instructions for trigger locking, power isolation, pressure discharge, and drain-valve position. Never put a hand over the tip or use a hand to locate a pressurized leak. Suspected injection injury requires immediate emergency medical care. [4, 6]
Check that the suction tube, hoses, lines, and gun are properly connected. Inspect hoses and fittings for damage. Check the pump and gun filters; clean them and replace damaged or unsuitable filters. Confirm a functioning trigger lock and compatible components rated for the equipment. Do not operate a leaking or damaged system.
I normally run clean water from a five-gallon bucket through a compatible water-based setup before introducing paint. This lets me check operation and spot leaks while cleanup is easier. Confirm the required flushing fluid first, especially after storage or when changing coating types. Keep the spray tip removed for flushing and use the manual's low-pressure and grounding procedure. Resolve problems with pressure relieved before continuing.
3. Mix, strain, and prime
Mix the paint thoroughly, then strain it before putting the suction tube into the paint. Keep a separate waste bucket for displaced water or other compatible flushing fluid. Do not return contaminated startup discharge to usable paint.
Move the suction tube from the test fluid into the prepared paint. Direct the prime/return hose into the waste bucket and follow the model's pump-priming procedure until paint flows smoothly from that hose. Next, with the tip removed, fill the hose and gun using the manufacturer's specified control sequence and discharge into the waste bucket until paint reaches the gun. Keep the gun grounded against the appropriate pail as instructed. [1, 6]
After pressure relief, install the selected compatible tip and guard and engage the trigger lock until ready to test. Do not remove or install parts while pressurized. The exact valve and switch sequence varies by model; use its manual rather than applying one brand's sequence to every machine.
4. Choose the tip and test the pattern
Consider the coating's viscosity and recommended tip range, the width of the surface, the desired fan, and the sprayer's capacity. Confirm that the tip family fits the gun and guard. I use both Titan and Graco equipment and recommend the Graco tip chooser as a starting resource; its Magnum/handheld guidance must be checked against the actual equipment. [2]
For the exterior acrylics discussed in the cedar entry, I commonly start with a 515, subject to the product's requirements. In the common three-digit convention, a 515 indicates an approximately 10-inch fan at 12 inches and a 0.015-inch opening; confirm the coding for the selected tip series. This is an example, not a universal house-painting tip.
Spray a test on the station's cardboard or scrap wood. I test from about 12 inches, looking for an even fan without heavy edges, runs, or bubbles. Set distance and pressure for the actual tip and coating. Heavy edge lines are often called tails. Graco advises increasing pressure gradually when tails appear; if the pattern remains poor, check the tip, filters, coating, and equipment rather than continuing to increase pressure. [1]
Bubbles are a separate symptom, not proof of excessive pressure. Inspect wet-film buildup, distance, material condition, and equipment operation, and consult the coating guidance if bubbling persists. Establish a satisfactory pattern before moving onto the house.
5. Move consistently and overlap
I start at a top corner and generally work from the top down. Keep the wrist steady and move with the arm and body, maintaining a consistent distance and keeping the gun square to the surface. Avoid swinging the wrist in an arc or reaching across the body. Start moving before pulling the trigger; release it before stopping the movement. [3]
Overlap each pass by 50%. I complete a pass across the wall, return to the starting side with the trigger released, and make the next pass. Walk or reposition using planned safe access rather than overreaching. Arrange hose handling so it does not interrupt the stroke or pull the operator off balance.
Follow the siding direction. On horizontal cedar planks, spray horizontally across the wall and move downward for the next pass. On vertical boards, spray from top to bottom, then shift sideways and repeat with 50% overlap. I am right-handed and prefer to begin at the right-hand corner of the wall I face and progress leftward; this reduces reaching across my body. It is my ergonomic preference, not a requirement for every painter.
Check deposited coating against the manufacturer's coverage and wet-film requirements; I use a wet-film gauge in my cedar workflow. Film thickness does not replace a specified coat count or recoat interval. Use representative measurements appropriate to the surface texture, and inspect at each stage. See Entry 001 for cedar coating selection and thickness checks.
6. Coordinate the crew and correct wet defects
For unusually long walls, approximately 50-100 feet in my example, I may use two sprayers. The first painter works the upper passes; when that painter is roughly halfway along the wall, the second begins directly below the completed area with 50% overlap. The lead is along the wall, not an instruction to place one painter directly underneath another.
My example creates roughly 25-50 feet of working separation. That is a crew arrangement, not a guaranteed overspray exclusion distance. Coordinate access and hose routes, watch wind and drift, and keep people out of each other's spray paths. Slow or stop if the crew cannot maintain protection and a consistent finish.
A helper tends the sprayers, back-rolls, cleans up, and checks quality behind the spray painters. The helper watches for runs, excess paint, holidays, and bubbles, and checks surrounding surfaces for overspray. The workload must leave time for each of those tasks; do not keep spraying faster than defects can be inspected and corrected.
While paint is still workable, my correction for a run, excess buildup, or bubbles is to dab off the excess with a clean, dry, lint-free rag and back-roll to restore an even finish. The helper already has a roller ready. Do not keep working paint that has begun to set; follow the coating's repair and recoat guidance instead. Repeated bubbles call for investigating the cause before continuing, not simply repeating the same repair.
Back-rolling or back-brushing depends on the substrate and coating. On rough cedar, I commonly use a 1/2-3/4-inch roller nap; smoother surfaces call for shorter nap. Follow Entry 001 and the selected coating instructions. Inspect again after drying for coverage, flashing, and other remaining defects before accepting the work.
7. Recover paint and clean the system
For compatible water-based work, I remove the suction tube from the paint, wipe it clean, and place it in clean water. I recover usable paint remaining in the hose into the paint bucket and then seal the paint. Use the model's shutdown and recovery sequence: relieve pressure and remove the tip before flushing; stop recovering paint when flushing fluid arrives, so water does not dilute the stored paint. Collect further discharge as waste. [5, 6]
Flush the pump, return line, hose, and gun until discharge is clean. I commonly use 10-15 gallons of clean water across the cleanup; this is my experience, not a prescribed volume. The coating, hose length, and equipment determine the cleaning requirement. Water is not the correct flushing fluid for every coating.
Relieve pressure and isolate power as directed before removing filters or other parts. Clean filters, tip, and guard with compatible fluid and a soft-bristle brush, then inspect for damage. Wipe the equipment exterior clean. Graco specifies a soft brush; do not use a wire brush as a universal method on precision openings, seals, or filters. [5]
I have sprayed water through the installed tip for about 30 seconds in my field routine. The published procedure instead follows the manufacturer guidance reviewed: remove the tip before system flushing and clean it separately. Capture wash water and coating waste for disposal according to product directions and local requirements; do not discharge it onto the property or into storm drains.
8. Protect and store the equipment
I use pump protection when the sprayer will not be used the next day. That is my scheduling practice, not an exemption from model-specific overnight protection. Graco's cleanup guidance calls for a protective final flush after water cleaning; use the compatible preservative or storage fluid and procedure specified for the actual equipment. [5]
Leave the system depressurized, secure cleaned components, arrange hoses without damaging kinks, and store equipment in a suitable dry location. Confirm that the station and surrounding work area are clean and the paint containers are sealed. The next startup begins with another equipment check.
SPATE at a glance
- Substrate
- prepared architectural surfaces, with horizontal and vertical cedar examples. Surface preparation is a prerequisite, not replaced by spraying.
- Product
- coating, compatible flushing liquid, and approved pump preservative; use the selected product's specifications and safety data.
- Application
- test pattern, steady gun movement, 50% overlap, substrate-aligned passes, back-rolling where appropriate, inspection and correction.
- Tools
- airless sprayer, compatible hoses/gun/tip/guard/filters, masking machines, protection, mixing and straining tools, test board, buckets, roller, rags, soft brush, and wet-film gauge as appropriate.
- Execution
- station and masking; protection and equipment checks; mix and strain; prime; select and test tip; spray and inspect; recover paint; clean; protect and store.
Sources and references
- Graco - How to Start Up an Airless Paint Sprayer. Pump/hose priming and test-pattern guidance.
- Graco - Choose the Correct Spray Tip/Guard. Tip-selection resource supplied by Joshua.
- Graco - Spraying Techniques. Movement, distance, and overlap.
- Graco - Airless Sprayer Safety. Equipment and exposure precautions.
- Graco - How to Clean Up a Paint Sprayer. Paint recovery, flushing, soft-brush cleaning, and storage protection.
- Titan - Product Manuals. Select the exact model and current manual. . The Advantage 500 manual was reviewed as an example, not a universal Titan sequence: https://www.titantool.com/media/contentmanager/content/Advantage_500.pdf
- Titan - Care and Maintenance Videos. Supplementary equipment resources.
Related entries
Entry001
Entry002
Entry004
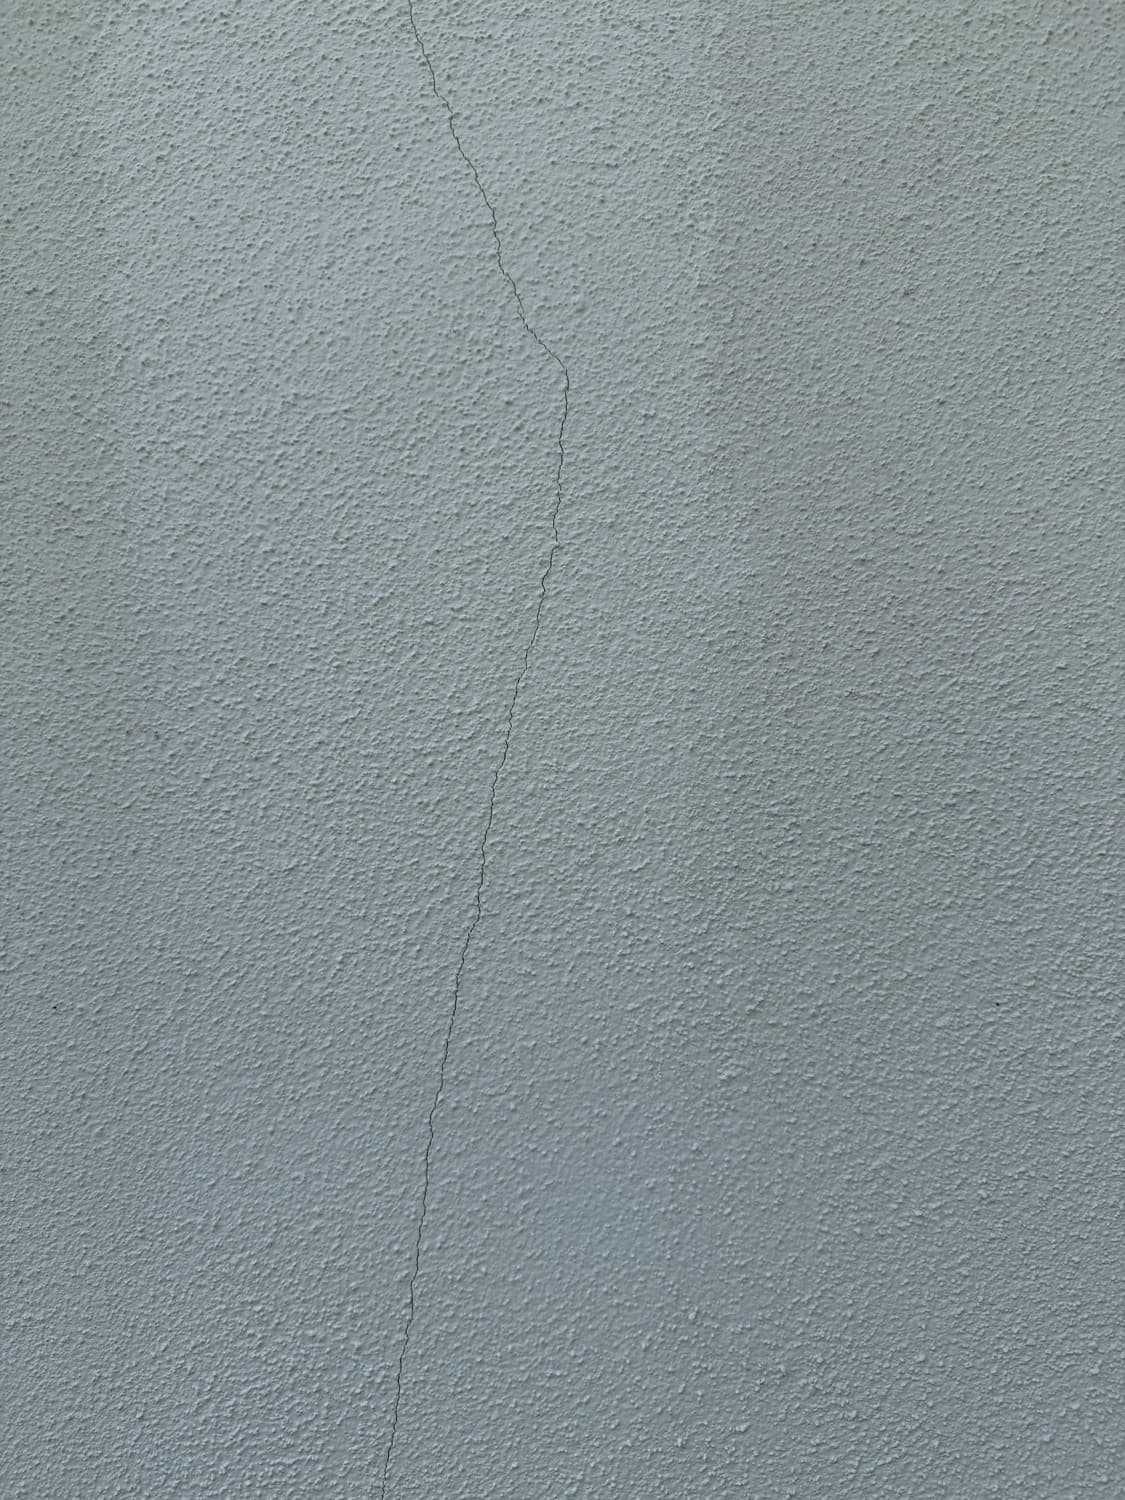
Entry 006
Preparing and Repainting Exterior Stucco
Also about Bubbling / blistering and Holidays (missed spots)
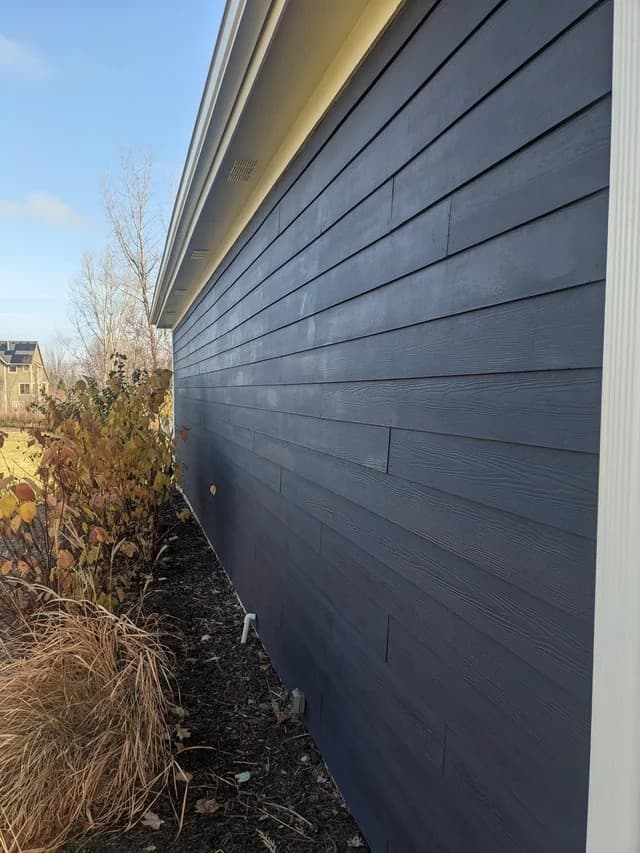
Entry 012
Diagnosing and Correcting Paint Flashing
Also about Spray and back-roll and Back-rolling
Entry015
Preparing and Painting Exterior Wood Trim and Fascia
Also about Spray and back-roll and Back-rolling