Entry 006
Preparing and Repainting Exterior Stucco
Inspect cracks, match repairs to the texture, and prepare stucco for a uniform exterior finish.
Inspect the wall before choosing the coating. A small crack in firm stucco can call for a localized repair; movement or loose material can point to a problem that painting will not solve. This guide follows my residential repaint practice in Florida, from inspection through patching, conditioning, application, and final checks.
My standard
My standard: I inspect cracks, seams, and possible water entry before choosing a coating. Movement or unstable stucco calls for further assessment; smaller cracks in firm stucco can be patched and blended to match. After cleaning and repair, I check cure, moisture, and pH, use the compatible primer or conditioner where needed, and spray and back-roll the finish. I inspect the recesses as well as the raised texture for missed spots, pinholes, and uneven coverage.
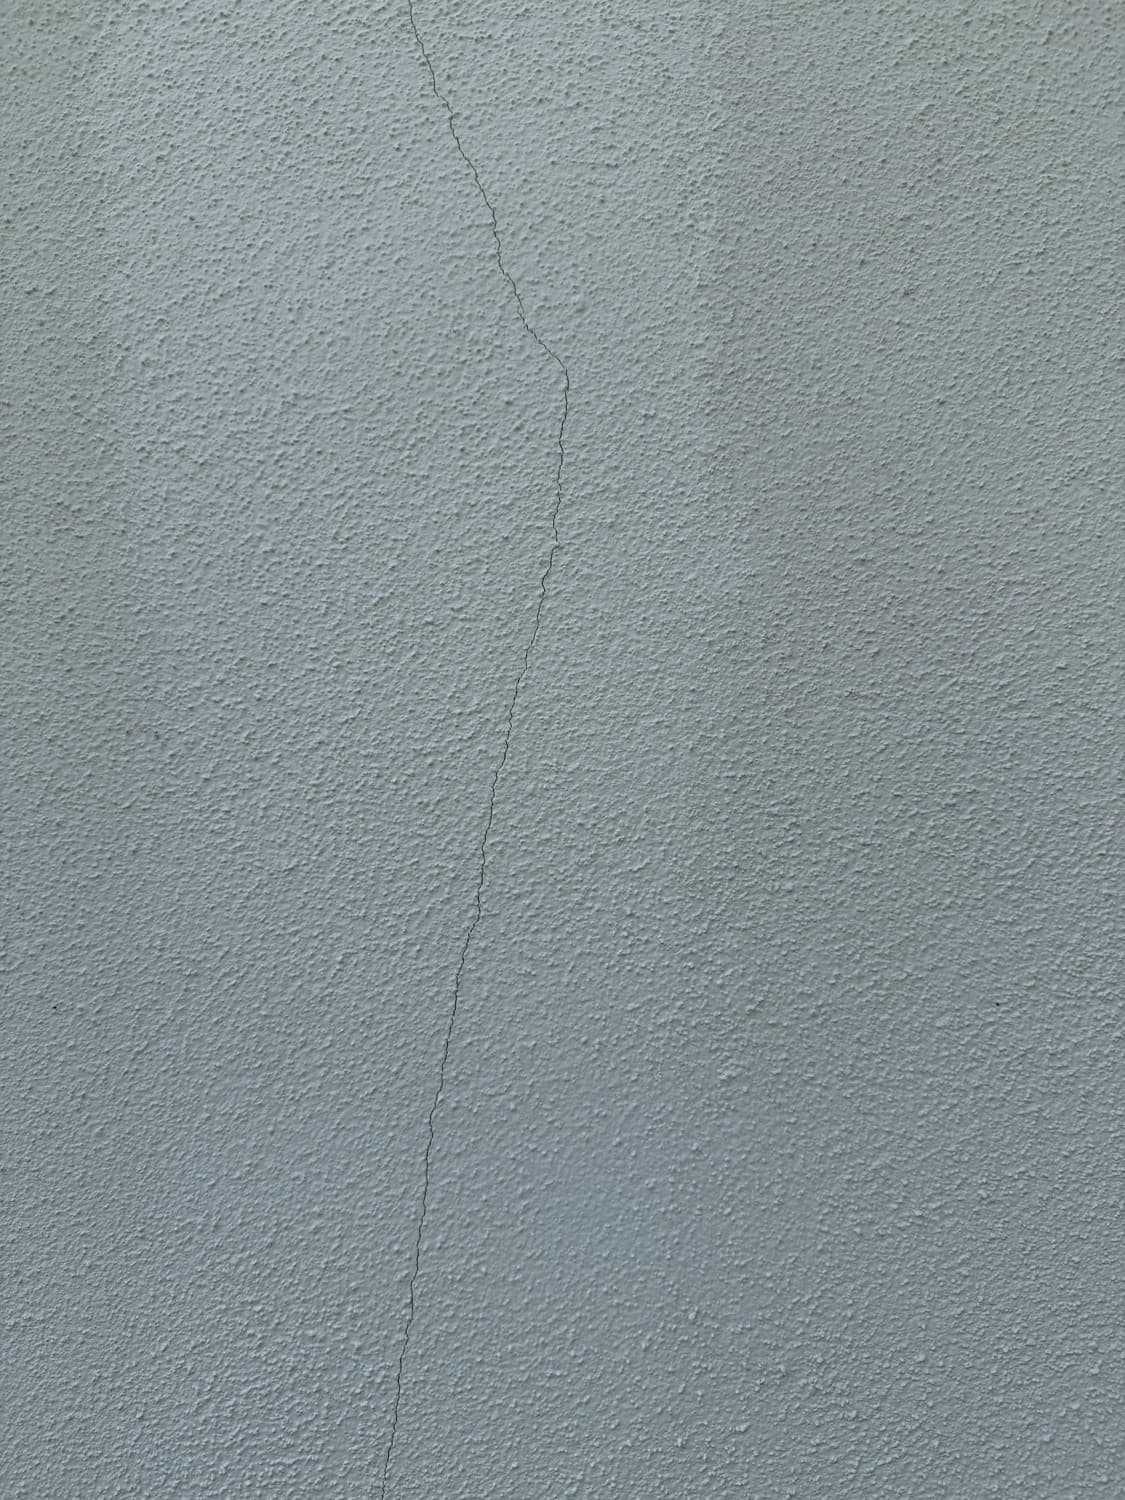
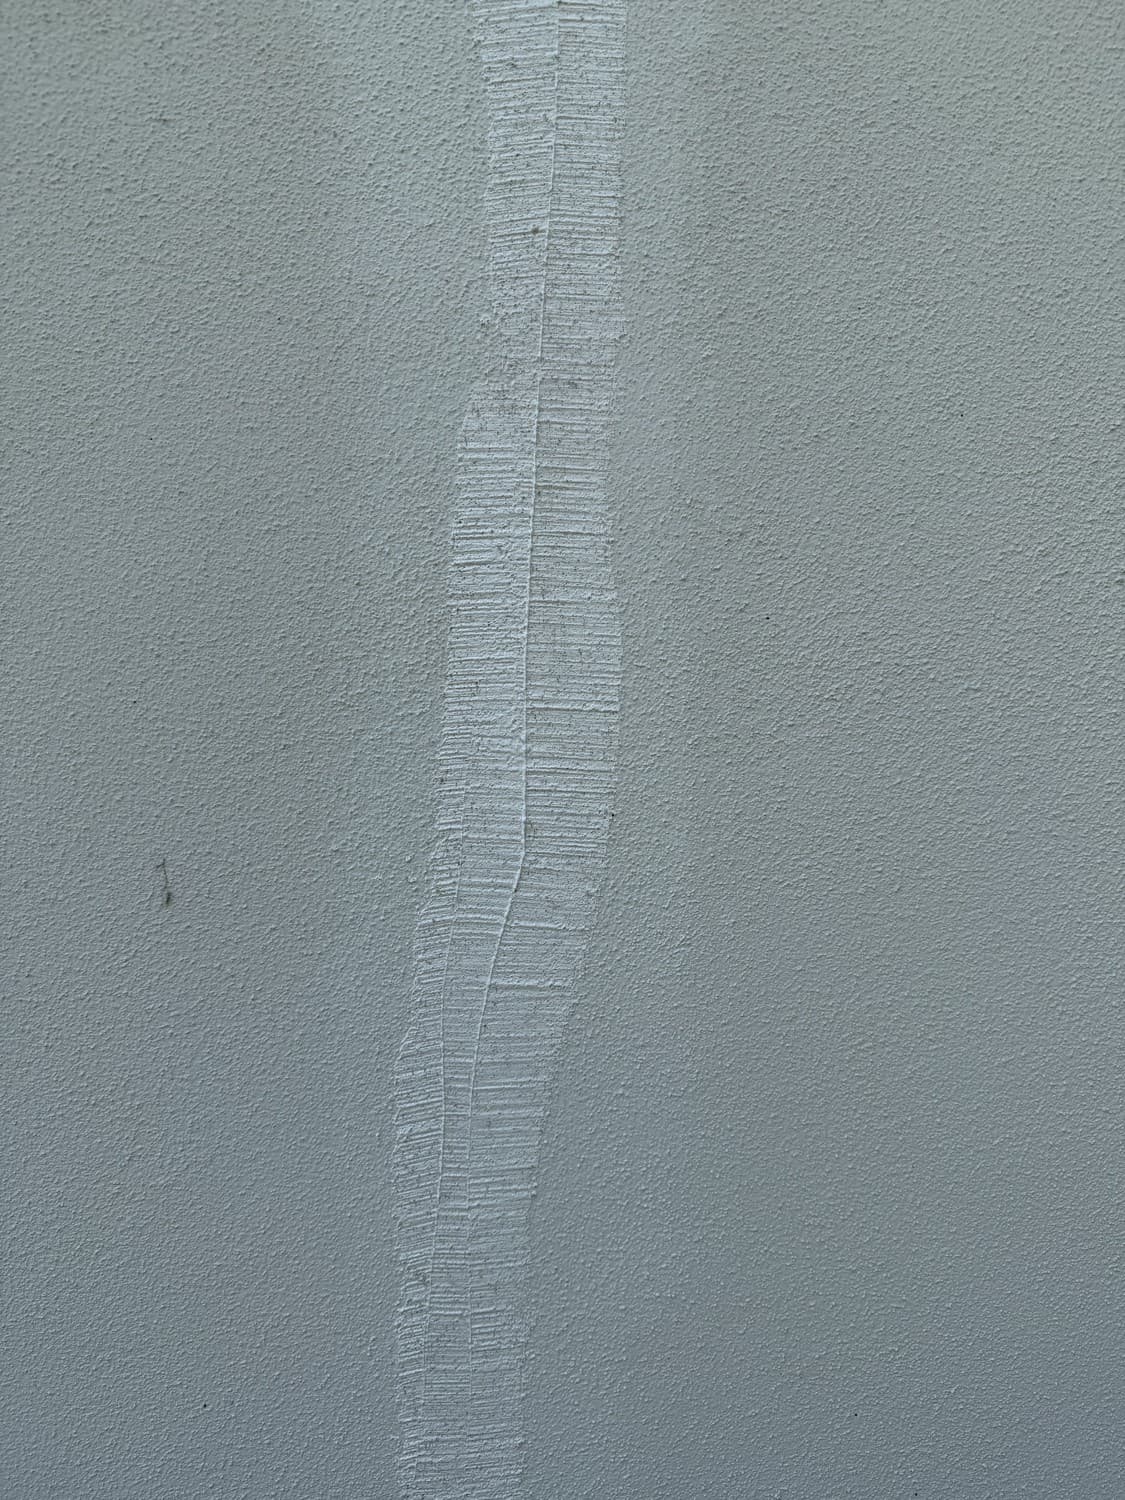
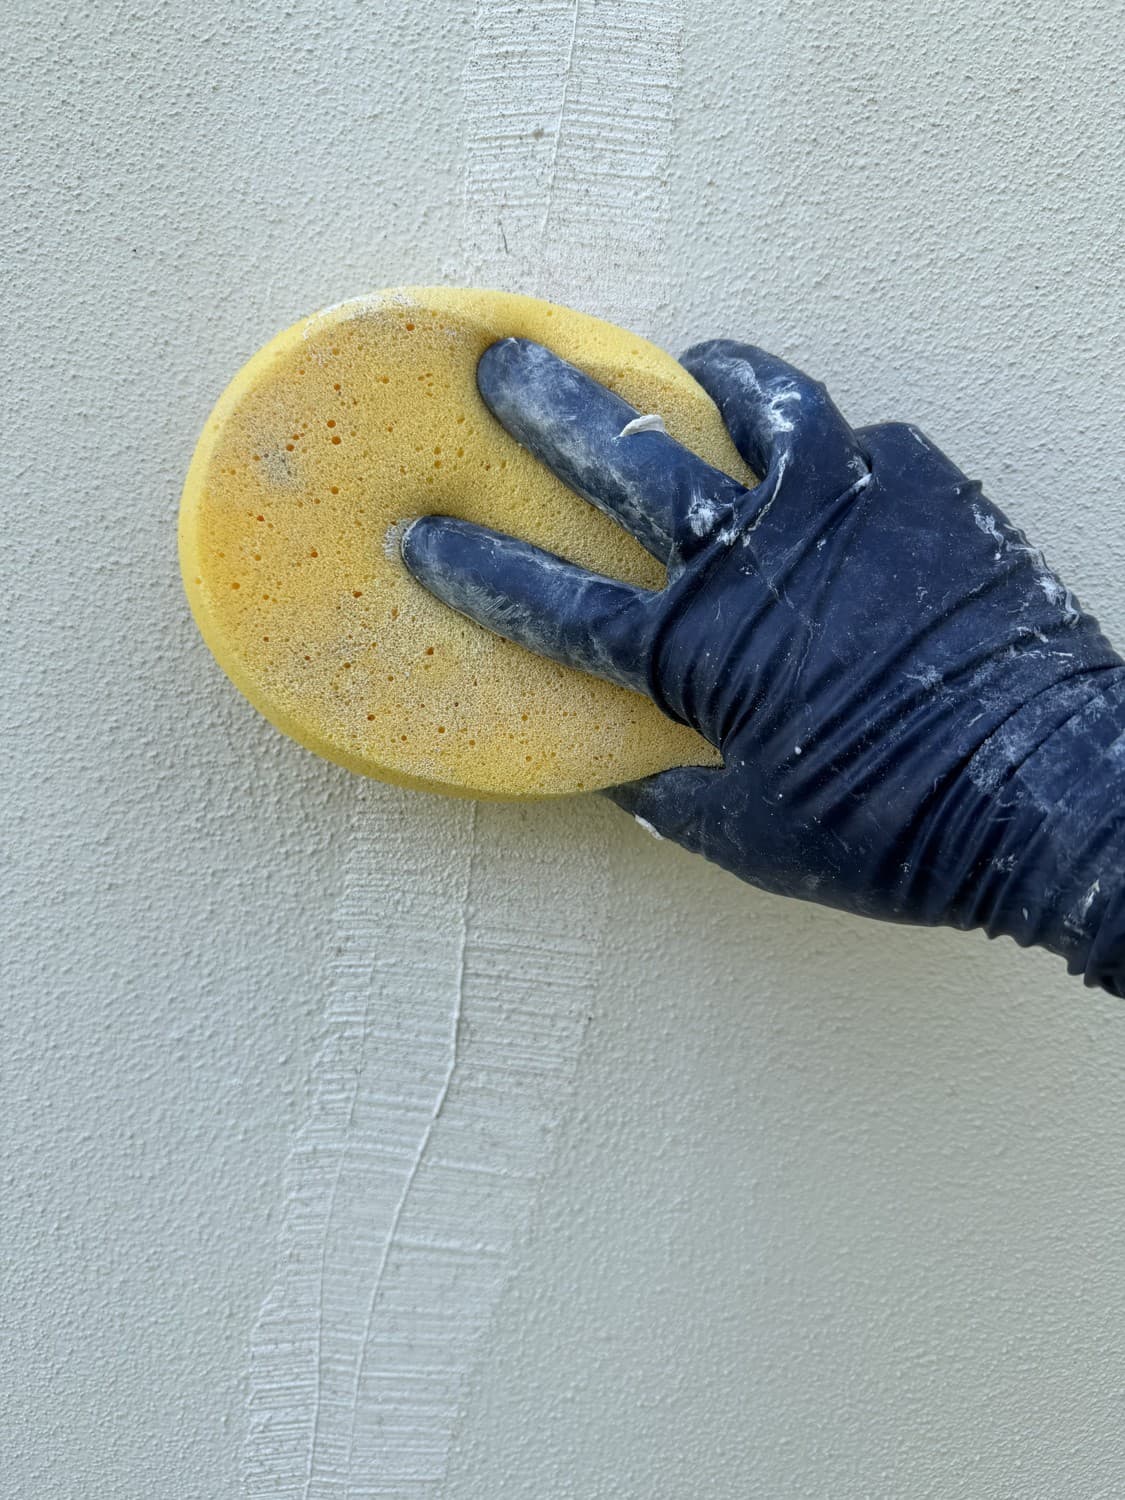
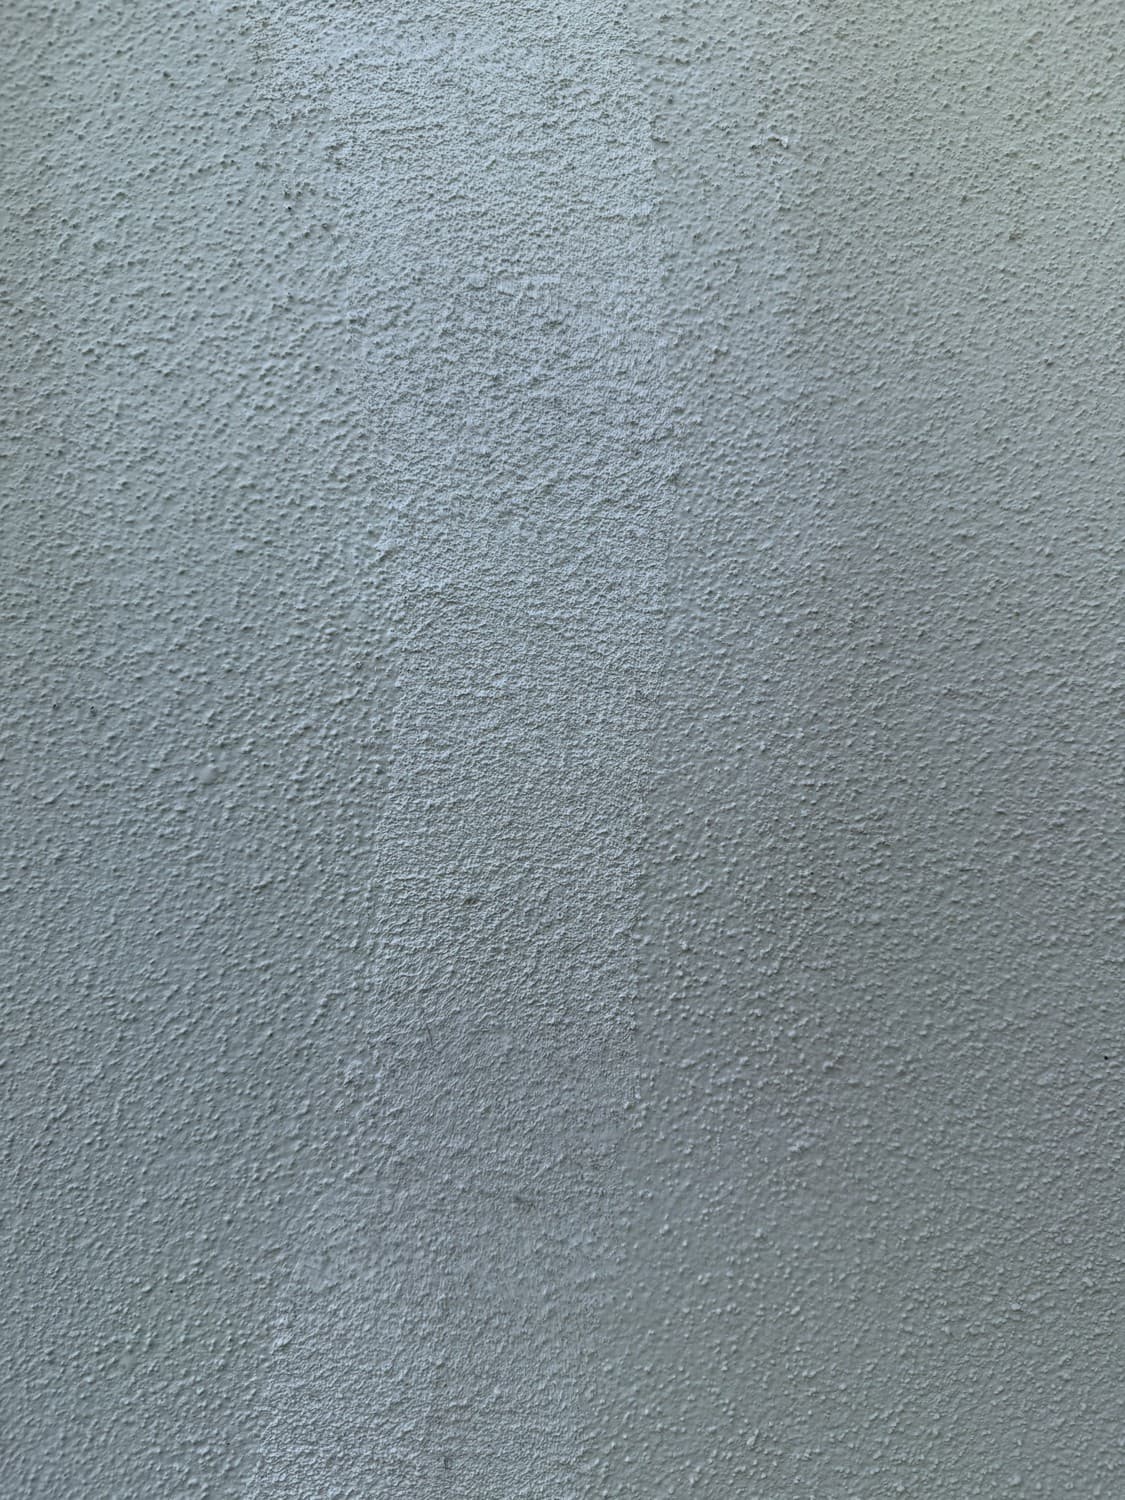
1. Inspect cracks and possible water entry
Start high and work through the elevations systematically. Spider cracks are common and high on my inspection list. Check cracks, loose or failed caulk, broken seams, corners, mold or mildew, other damage, and loose stucco. Inspect transitions and places where water could enter; do not assume all visible cracking is merely cosmetic.
Around and below a crack, I tap the stucco and listen for hollow areas. A hollow sound is a clue to possible separation, not proof of a particular failure layer. Where the surface sounds hollow, I check for movement with firm hand pressure. Avoid destabilizing material that is visibly loose, bulging, or at risk of falling; isolate that area for specialist assessment.
Movement prompts me to call my stucco specialist because water behind the finish or separation can indicate a larger problem. My team can handle small, localized repairs when the cause and extent are understood. Small size alone does not rule out concealed damage. Address water entry and unstable material before applying a coating.
2. Clean and establish a sound surface
Pressure-clean before conditioning chalky walls, using a method appropriate to the wall's condition. Avoid damaging the finish or forcing water into cracks and transitions. Remove contamination and loose material, rinse, and allow the surface to reach the condition required by the next product. Treat mildew with a compatible labeled cleaner and follow its directions; do not transfer a pool-chlorine mixing ratio from another job into a general stucco instruction.
Check existing paint for adhesion and chalking. Chalking is a loose powdery residue that can transfer to the hand. Remove heavy chalk and failed paint before coating. Assess old coatings and applicable lead-safe requirements before scraping or sanding. Neither a conditioner nor a primer turns loose paint or unstable stucco into a reliable substrate.
3. Patch smaller cracks in firm stucco
For smaller cracks with firm surrounding stucco and no movement, I use an elastomeric stucco patch. These products come in different grades and textures. Select the grade and texture to suit the existing finish, the crack, and the product's stated repair limits. This material is a repair product, not an automatic choice of elastomeric finish paint for the whole home.
Clean the area, then run a putty knife along the crack to open it slightly and give the compound room to enter. Do not enlarge the repair beyond the material's permitted dimensions or cut indiscriminately into the wall assembly. If opening the crack exposes loose or deeper damaged material, reassess the repair scope.
Apply the patch with a putty knife, working it into the prepared crack. While workable, tap it with a wet concrete sponge to remove excess, blend the edges, and reproduce the surrounding texture. Avoid leaving a distinct raised strip. Follow the patch product's tooling and cure directions; the accompanying photos illustrate my technique.
Demonstration: prepare, fill, and blend
My photos show the crack, applied patch, sponge tooling, and resulting texture. These are process images; the final image does not establish the appearance of a cured and painted repair.
The accompanying stucco crack-repair video shows the putty-knife and sponge work. The PDF contains still images and a link to the video.
Chapters
Transcript
Stucco crack: applying patch and blending texture Written description of the visible demonstration, not a verbatim spoken transcript. 0:00 - Apply and smooth the patch A gloved hand uses a putty knife to spread pale patching material along a vertical repair in a textured stucco wall. The knife works across and along the repair, redistributing material and smoothing high areas. The camera moves along the patched strip to show the surface left by the knife. 0:26 - Blend with a sponge A gloved hand brings a round yellow sponge against the wet patch. The sponge works across the repair and its edges, softening the knife pattern and blending the material toward the surrounding texture. 0:36 - View the fresh texture The camera shows the fresh patch and the transition into the existing stucco, first along the repair and then closer to the surface. This shows the texture immediately after tooling, before drying, priming, or painting. Article context Joshua describes this method as applying an elastomeric stucco patch with a putty knife and blending it with a wet concrete sponge. The footage does not identify a product brand. Inspection, cleaning, and opening the crack are described in Entry 006 but are not shown in this clip. Follow the article's guidance concerning movement, loose stucco, and water entry, and the selected patch product's directions before coating.
4. Check cure, moisture, and pH before priming
I prime repaired areas with a masonry primer. Larger repairs involving actual stucco or mortar need the specified curing period before coating. I check moisture and pH before primer application. A moisture meter measures moisture condition; it does not demonstrate that cement curing is complete. Use instruments and testing methods suitable for masonry, and interpret their scales according to their instructions.
My example is Sherwin-Williams Loxon Concrete & Masonry Primer/Sealer. The reviewed data sheet specifies masonry at least seven days old and a surface pH of 6-13. This is an early-coating allowance for that product, not a universal waiting period for all repairs. Meet the repair material's instructions as well as the primer's requirements, and confirm the current sheet for the exact product. [1]
An elastomeric crack patch has its own drying and coating instructions; do not automatically apply the cementitious repair's seven-day rule to it. Check compatibility with the intended primer. Allow the required primer recoat interval before the finish coat. If different absorption between primed and unprimed areas could produce an uneven finish, assess whether broader priming is needed. [1]
5. Condition chalky walls after cleaning
On a chalky wall, I apply a chalk-binding conditioner over the entire wall after pressure cleaning. My usual example is Loxon Acrylic Conditioner. The manufacturer describes it as binding light chalk; remove heavy chalk and other contamination first. Follow the actual product's coverage, drying, and topcoat instructions. [2]
Keep the two functions distinct: a masonry primer prepares suitable bare or repaired areas for the coating system; the conditioner addresses residual light chalk across the cleaned wall. Do not automatically stack both products everywhere. Establish a compatible system for the repaired areas and the surrounding existing coating.
6. Select the finish and spray/back-roll
The job specifications determine the coating. For Florida residential work, my preferred acrylic latex examples are Benjamin Moore Aura, Sherwin-Williams Emerald Rain Refresh, and Richard's Eternity. These are my field choices, not interchangeable specifications or a promise of identical performance. Verify the exact exterior product, sheen, compatibility, and application requirements for the job.
I spray and back-roll stucco. Refer to Entry 005, Airless Spraying, for masking, setup, mixing and straining, equipment checks, tip selection, spray technique, crew coordination, and cleanup. Work the wet coating into the texture rather than covering only the raised portions.
My roller selection follows the surface: longer nap for rougher finishes and shorter nap for smoother ones. For light sand-finish stucco, comparable in texture to orange peel, I typically use a 1/2-3/4-inch nap. For heavy trowel or knockdown-style stucco, I use a 3/4-1-inch nap. These are my stucco choices, not replacements for the different nap ranges given for interior drywall. Follow any additional roller requirements for the selected coating.
Check film thickness and follow the manufacturer's coat count and recoat interval. Rough stucco can complicate wet-film readings; use representative checks appropriate to the surface and confirm material use against the specified coverage. Do not infer that one heavy sprayed application replaces two specified coats. For example, the reviewed Loxon primer data lists a primer coat followed by two appropriate topcoats for stucco. [1]
7. Inspect, correct, and reinspect
Inspect during application for runs, holidays, bubbles, flashing as it becomes apparent, pinholes, and missed crevices. Look into the recesses of the stucco as well as at the surface peaks. I typically use the roller to work paint into pinholes and uncoated crevices while it is still workable.
Do not continue loading paint into a persistent opening without assessment. A void may require a compatible repair or surfacing material, rather than more finish paint. Follow the system's permitted film build and repair instructions. Correct causes of recurring defects instead of repeatedly concealing them.
Once dry, reinspect for uniform coverage and appearance, visible repairs, remaining pinholes, missed recesses, and flashing. If further work is needed, follow the coating's recoat directions and inspect the correction again. Keep the inspection checkpoints throughout the job so defects do not accumulate beneath later coats.
SPATE at a glance
- Substrate
- previously painted exterior stucco; light sand, heavy trowel, and knockdown textures; localized cementitious or elastomeric repairs.
- Product
- compatible cleaner, texture-matched elastomeric stucco patch, masonry primer, chalk-binding conditioner where needed, and specified exterior acrylic finish.
- Application
- localized putty-knife repair and sponge blending; priming and conditioning; spray and back-roll; wet-coat correction and dry inspection.
- Tools
- inspection tools, putty knife, concrete sponge, masonry-appropriate moisture and pH testing equipment, cleaning equipment, sprayer, rollers, film-thickness tools, access equipment, and task-specific protection.
- Execution
- inspect; investigate movement and water entry; clean; repair; check cure/moisture/pH; prime or condition as specified; apply; inspect and correct.
Sources and references
- Sherwin-Williams, Loxon Concrete & Masonry Primer-Sealer, US LX02W0050, July 2023 technical sheet
- Sherwin-Williams, Loxon Acrylic Conditioner, technical sheet
Primary source: Joshua Christopher's notebook-derived field experience and Article 006 discussion. Demonstration photos IMG_1379, IMG_1382, IMG_1383, IMG_1384 and video IMG_1385 were supplied by Joshua Christopher. Captions describe visible process stages without asserting hidden substrate condition or cured performance.
References checked 2026-09-09.