Entry 008
Preparing and Painting Exterior Aluminum
Remove oxidation, prepare the existing coating, and achieve an even finish on exterior aluminum.
A smooth aluminum finish begins with removing corrosion products, preparing the remaining coating, and choosing a compatible primer and finish. This entry records my workflow for exterior aluminum and keeps it distinct from the rust-conversion methods used on steel and iron.
My standard
My standard: I inspect aluminum and its existing coating, remove corrosion products and failed paint, feather the edges, and clean away sanding residue. I use an acrylic DTM bonding primer rated for aluminum on exposed metal and test uncertain existing finishes for compatibility. I usually spray the acrylic finish for a smooth appearance, apply two finish coats, and inspect joints, fasteners, undersides, and edges. Aluminum corrosion is different from iron rust and needs the appropriate preparation system.
1. Inspect the substrate and coating
Check all aluminum for oxidation, corrosion, and contamination around fasteners. On previously coated aluminum, also look for peeling, checking, bubbling, and other paint failure. Inspect edges, joints, undersides, attachments, and difficult-to-reach areas rather than judging only the visible faces.
Aluminum corrodes but does not produce iron rust. Rust-colored deposits can come from steel fasteners, adjacent steel, or iron contamination; identify the source instead of automatically treating the aluminum as rusted steel. Resolve recurring contamination or a deteriorated attachment before coating over the symptom.
Confirm that the component is suitable to retain. Significant metal loss, weakened attachments, or questionable protective or load-bearing parts need appropriate assessment and repair or replacement. Surface preparation and paint cannot restore missing metal or strength.
2. Remove oxidation and feather failed paint
I find sanding the most thorough method for removing corrosion products and preparing the surface. Remove loose and failed coating and clean contamination before sanding it into the metal. Protect nearby surfaces and use appropriate dust control, eye protection, and other task-specific protection. Assess old coatings before disturbing them.
Choose abrasive severity according to the extent of corrosion. I use a range from 120 to 320 grit. For heavier corrosion, I start at 120, then follow with 220 and 320 to reduce the scratches left by earlier sanding. Less severe areas may not require the coarsest step.
Feather the transitions from exposed metal to retained sound paint. The aim is a sound, consistent surface without prominent sanding lines, not unnecessary removal of aluminum. Do not polish beyond the surface profile required by the primer or attempt to sand away deep deterioration until an already thin component is weakened.
3. Clean after sanding
I typically wipe with denatured alcohol or acetone on a clean cotton cloth. This is my field cleaning practice, subject to the selected system's instructions. Solvents can damage remaining paint or adjacent materials; confirm compatibility and test an inconspicuous area first. Follow the solvent's ventilation, ignition-control, skin/eye protection, and disposal directions, and allow the surface to dry before coating.
A coating-compatible tack cloth is another option I use for residual sanding dust. It does not replace removal of grease or other contamination. Avoid a cloth that leaves residue incompatible with the coating. Finish with a surface free of sanding debris and cleaning residue.
The reviewed Pro Industrial sheet requires removal of oil, grease, dirt, oxide, and foreign material from aluminum and directs suitable cleaning, rinsing, and drying. It does not specifically approve my two solvent choices. Check the exact primer and finish instructions before choosing the final cleaning method. [1]
4. Prime exposed aluminum and assess retained coatings
I use an acrylic DTM bonding primer rated for aluminum on exposed metal. DTM means direct-to-metal; the name alone does not establish suitability for every metal or existing finish. The exact primer product was not identified in this discussion, so this article specifies its required suitability rather than inventing a brand or product code.
Where the existing coating is sound and compatible, I retain it as the base for recoating after cleaning and scuff-sanding where necessary. Calling it a base does not make it equivalent to a purpose-made primer on bare metal. Remove failing coating rather than expecting the finish coat to stabilize it.
Factory finishes require particular care. The reviewed DTM Acrylic sheet lists a separate bonding-primer system for baked-on siding finishes. Its previously painted-surface guidance calls for an adhesion test after a one-week drying period. Follow the selected system and retest after any revised preparation; sound appearance alone does not prove compatibility. [1]
Allow primer to dry as required, then inspect for even coverage, roughness, and missed exposed metal before applying the finish.
5. Spray or roll the acrylic finish
I typically spray Sherwin-Williams Pro Industrial DTM Acrylic, a water-based exterior finish, for a smooth appearance. Confirm the actual product, sheen, and current technical sheet. Pro Industrial is a product family, not a single interchangeable formula.
My preference is a fine-finish spray tip when the product and equipment allow it. A fine-finish designation is not a reason to select an opening too small for the coating. The reviewed semi-gloss sheet gives a 0.017-0.021-inch airless tip range. Check the chosen tip family and sprayer, then test the pattern before applying it to the work. [1]
For rolling, I use a short mohair nap, typically 1/4 inch, with light pressure. Let the roller distribute the coating without pressing hard against the metal. This is my tool preference; confirm compatibility with the coating and inspect a sample area for the desired finish.
Refer to Entry 005, Airless Spraying, for protection, equipment checks, mixing and straining, priming the equipment, test patterns, movement, overlap, and cleanup. Observe the coating's weather, film-thickness, and recoat requirements. Do not apply a generic cedar spray setup unchanged to a different product.
I apply two finish coats. Additional coats may be needed for full hiding and uniform color, particularly with light colors over a darker base. Allow the specified interval between coats and keep each application within the product's film-build limits. Do not replace two required applications with one excessively heavy coat.
6. Inspect coverage and finish quality
Use the same inspection discipline as on steel and iron: look for uniform appearance, holidays, runs, and complete coverage. Pay extra attention to joints, fasteners, undersides, corners, and narrow faces where paint can be missed or build up excessively.
Inspect during application, between coats, and after the finish dries. Check the repaired or sanded transitions as well as broad flat areas. A smooth visible face does not establish that hidden or recessed portions received an adequate coat.
7. Correct runs and avoid flashing
I use the same correction approach described in Entry 007. For a relatively fresh run I have sometimes softened the excess with denatured alcohol on a cotton swab or rag. This is a field technique, not a manufacturer-approved correction established by this article. Solvent can damage surrounding finish or primer; use it only where compatible product guidance and a small test support it.
For hardened runs, I sand smooth with 220-grit paper once the coating is suitably sandable. Preserve the primer and, where possible, the first finish coat. Remove dust and residue. If the correction exposes aluminum, reprime that area with the compatible aluminum primer before restoring the finish.
Depending on sheen and visibility, a local correction may flash. I typically recoat from natural break to natural break to obtain a uniform appearance. Allow proper drying and inspect again before accepting the repair.
SPATE at a glance
- Substrate
- exterior aluminum, bare or previously coated; identify factory finishes and fastener-related contamination.
- Product
- compatible cleaner, aluminum-rated acrylic bonding primer, and specified exterior water-based DTM acrylic finish.
- Application
- sand and feather; clean; prime exposed metal; prepare and verify retained coatings; spray or short-nap roll; inspect and correct.
- Tools
- abrasives from 120-320 grit selected for the condition, clean cotton or compatible tack cloths, appropriate spray tip, short mohair roller, and task-specific protective equipment.
- Execution
- inspect; address deterioration and contamination sources; prepare; clean; verify the coating system; prime as required; apply finish coats; inspect, correct, and reinspect.
Sources and references
Primary source: Joshua Christopher's Article 008 discussion and his confirmation that the finish inspection and repair process follows Entry 007. Original technical review: 13 September 2026. Editorial voice revised 26 September 2026.
References checked 2026-09-12.
Related entries
Entry005
Entry007
Entry001
Preparing and Repainting Cedar Siding
Also about Bubbling / blistering and Peeling
Entry 006
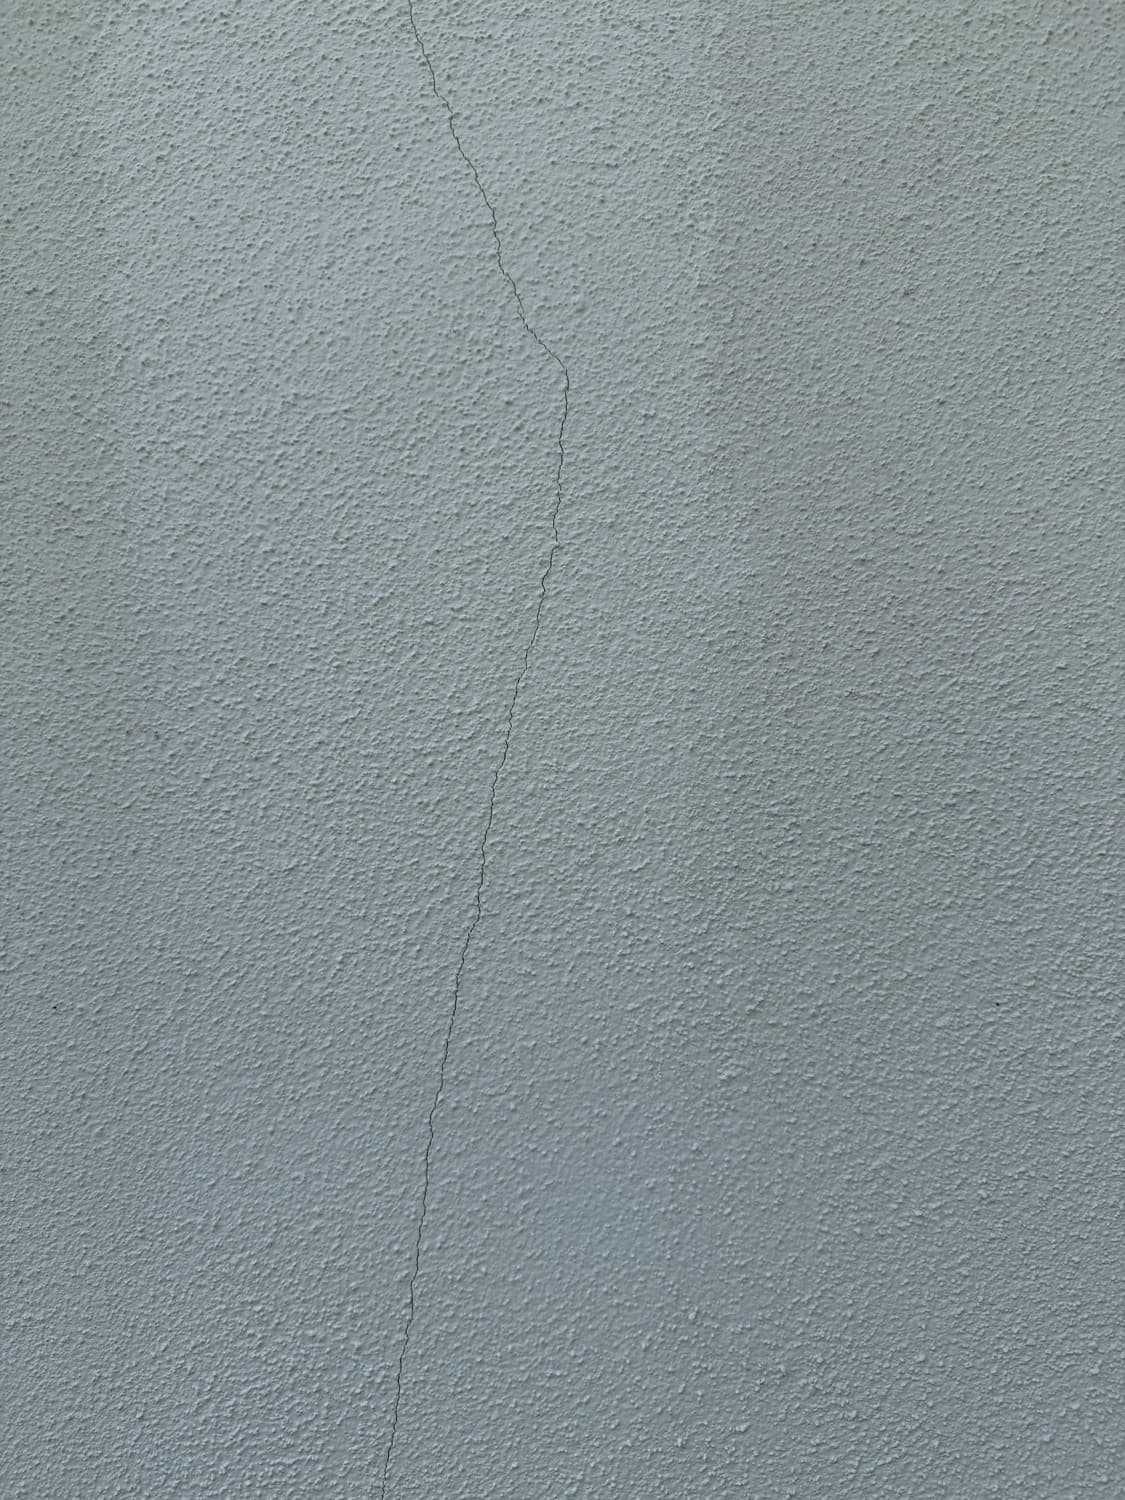
Preparing and Repainting Exterior Stucco
Also about Bubbling / blistering and Cracks and checking
Entry003
Repainting Previously Painted Interior Walls
Also about Cracks and checking and Previously coated surface
Entry014
Preparing and Painting Interior Doors and Trim
Also about Bubbling / blistering and Previously coated surface